Article Oct 23, 2024
How to use NoProxVPN Windows app
Article
Dec 7, 2025

Author
Kevin Wong | Technical specialistMastering Online Privacy with NoProx VPN Desktop Client
In an era where digital footprints are constantly tracked, NoProx VPN emerges as a powerful, user-friendly Windows solution designed to secure your internet connection. Built on the robust XRay Core, this application offers advanced protocol support (VLESS, VMess, Trojan, Shadowsocks) wrapped in a sleek, modern interface.
NoProx VPN supports distinct interface modes to suit both beginners and power users, along with flexible routing options (Proxy vs. TUN).
Whether you are a casual user looking for a one-click solution or a power user needing specific protocol configurations, NoProx adapts to your needs. In this guide, we will cover:
- Easy vs. Pro Mode: Which interface suits your needs?
- Operating Modes: Understanding System Proxy vs. TUN Tunneling;
- Configuration: How to import keys and manage servers;
- Optimization: Smart Connect and settings tweaking.
Let's dive into how to maximize your security with NoProx VPN.
Choose Your Style: Easy vs. Pro Mode
NoProx VPN features two distinct interface designs, switchable via the "App Mode" dropdown in the main menu. This allows you to toggle between simplicity and information density depending on your current needs.
Easy Mode
Best for: Instant connection without hassle.
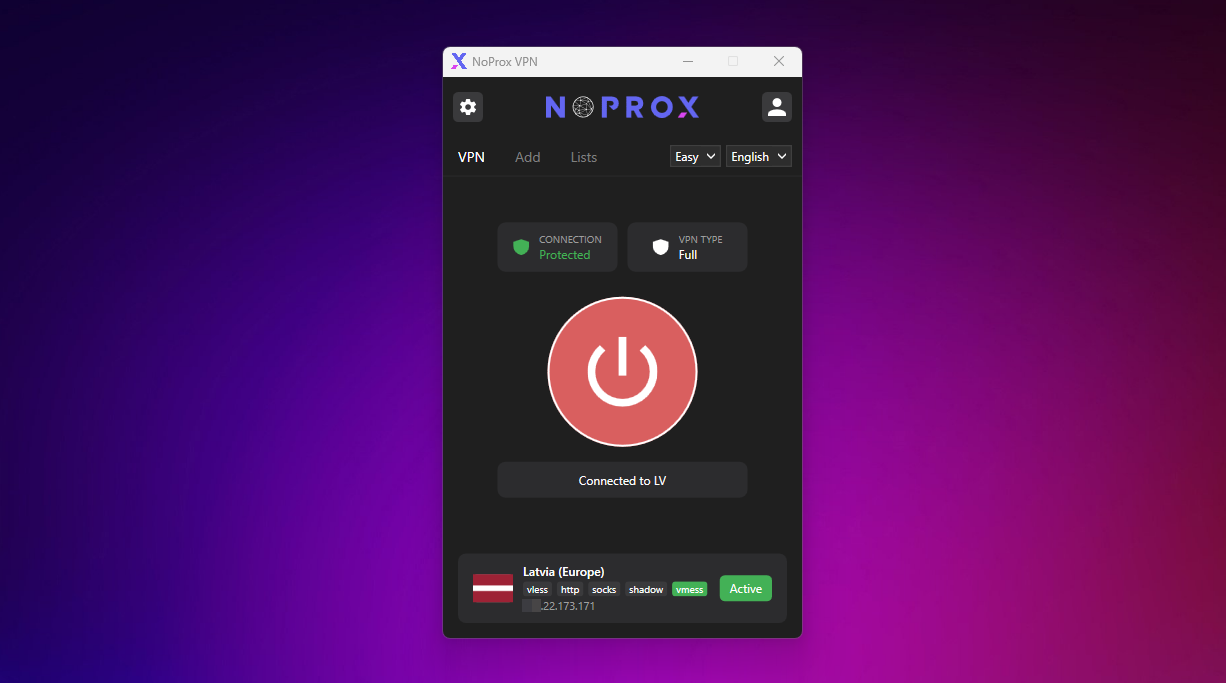
In Easy Mode, the interface is stripped down to the essentials. You are presented with a large connection button and a visual status indicator (Shield icon).
- Smart Auto-Connect: When you click connect, the app automatically tests all your available keys in the background.
- Best Server Selection: It identifies the server with the lowest latency (ping) and connects immediately.
- Visual Status: Clearly shows if your connection is "Protected" (Green) or "Risky" (Red).
Pro Mode
Best for: detailed monitoring and specific server choice.
Pro Mode gives you full visibility into your connection status and server list.
- Detailed Stats: Displays your current IP address, city, country, and ISP info.
- Server List: Shows every imported configuration with country flags and protocol types (e.g., vless, vmess).
- Manual Control: You choose exactly which server to use. Allows manual latency testing per server.
Routing Modes: Proxy vs. TUN
Beyond the visual interface, NoProx allows you to control how traffic leaves your computer. This is controlled via the "Mode" setting.
Technical Differences Under the Hood
Proxy Mode (Browser)
This is the default, lightweight mode. It configures your Windows System Proxy settings. It is ideal for securing web browsing traffic (Chrome, Edge, Firefox) without affecting applications that do not respect system proxy settings (like some games or older software).
TUN Mode (Full VPN)
This creates a virtual network interface (Tunnel). It forces all internet traffic from your computer to go through the VPN, including games and command-line tools.
Requires Admin privileges and .NET 7.0 Runtime.Supported Protocols
The application leverages the power of the XRay core to support modern, censorship-resistant protocols. This ensures you stay connected even in restrictive network environments.
- VLESS & VMess: Advanced protocols designed for maximum stealth and speed.
- Trojan: Mimics standard HTTPS traffic to bypass deep packet inspection (DPI).
- Shadowsocks: The classic, reliable industry standard for bypassing firewalls.
Getting Started: A Step-by-Step Guide
Configuring NoProx VPN is straightforward. You can either log in to sync your subscription or manually import configuration keys.
- Login or Import Keys Step 1 If you have a NoProx subscription, click the Login button on the top right. This will open a browser window to authenticate. Once confirmed, your keys will automatically sync to the Profile section. Alternatively, click the "Add" button in the top menu to import manual configurations.
- Select Interface & Language Step 2 Use the dropdowns in the main tab bar to select your preferred language (English/Russian) and Mode (Easy/Pro). The app remembers your choice for the next startup.
-
Connect and Secure Step 3
In Pro Mode, click the "Play" icon next to any server. In Easy Mode, just hit the big Connect button. The application will:
- Establish the local server on the specified port.
- Apply system proxy settings (or start the TUN interface).
- Update the tray icon to indicate a secure connection.

Managing Configurations & Servers
NoProx VPN allows flexible management of your connection profiles. You are not limited to one provider; you can mix and match keys from various sources.
Adding New Configurations
Navigate to the "Add" tab or click the Plus button. You have two options:
- Import Config File: Load JSON or text files containing V2Ray/XRay configurations.
- Import from Link: Paste a `vmess://`, `vless://`, `ss://`, or `trojan://` link directly. The app parses the link and sets up the connection automatically.
Smart Connect (Pro Mode Feature)
Use the "Smart Connect" button in Pro Mode to perform a bulk latency test on all your keys and automatically connect to the fastest available server.
Settings & Customization
Access the Settings menu via the gear icon to tailor NoProx VPN to your specific environment.
Basic Settings
- Protocol: Choose between HTTP or SOCKS (useful if you need specific proxy types for other apps).
- Start Hidden: Launch the application minimized to the system tray.
- Auto Connect: Connect to the last used server immediately upon launch.
Network & Ports
- Ports: Customize local listening ports for Proxy (default 10801) and TUN (10802).
- DNS: Set custom DNS servers (default 8.8.8.8) to prevent DNS leaks in TUN mode.
- UDP Support: Enable for better gaming and voice chat performance.

Conclusion
NoProx VPN combines the complexity of modern encryption protocols with a simple, accessible interface. Whether you use Easy Mode for quick protection in a coffee shop or Pro Mode with TUN routing to bypass strict geo-restrictions, this tool provides the flexibility you need.
Pro Tip: Don't forget to use the QR Code sharing feature (found in the server actions) to quickly share working configs with your mobile devices!
Stay secure, stay private, and enjoy unrestricted internet access with NoProx VPN.
Get NoProx Subscription Download NoProxVPN Windows App fo free
5 min read
Content:
Related Articles
All posts
Article Nov 27, 2024
How to buy games on Steam cheaper with VPN?
Article Apr 21, 2025
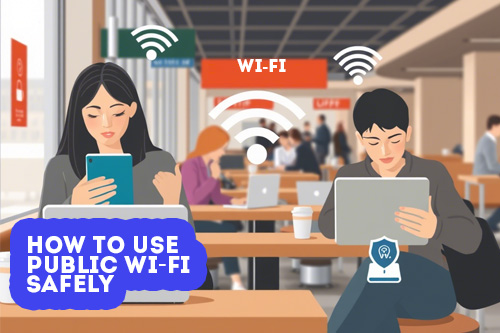
How to Use Public Wi-Fi Safely: Tips to Protect Your Data
Article Jun 15, 2025